Spicy Creamy Cajun Shrimp Pasta – Fast Weeknight Dinner
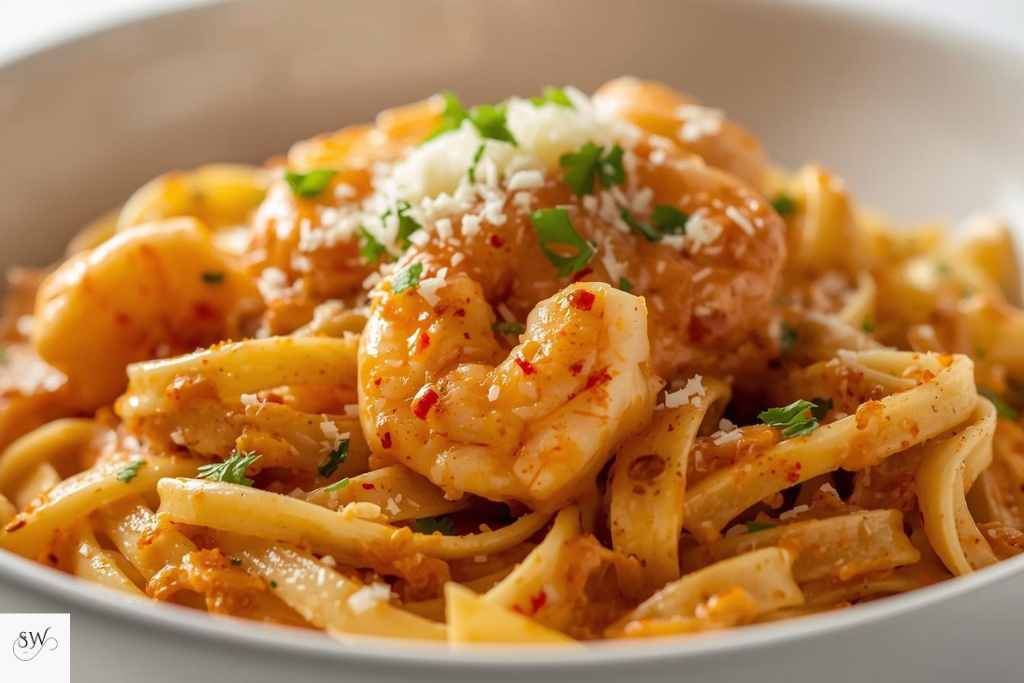
Discovering new flavors can feel daunting, but Creamy Cajun Shrimp Pasta is here to shake things up in just 30 minutes. This dish not only tantalizes your taste buds with its spicy flair, but it also proves that gourmet meals can fit into even the busiest schedules. Join us as we explore the journey to … Read more