Make Ahead Chicken Sliders for Parties – Easy & Juicy Game Day Recipe
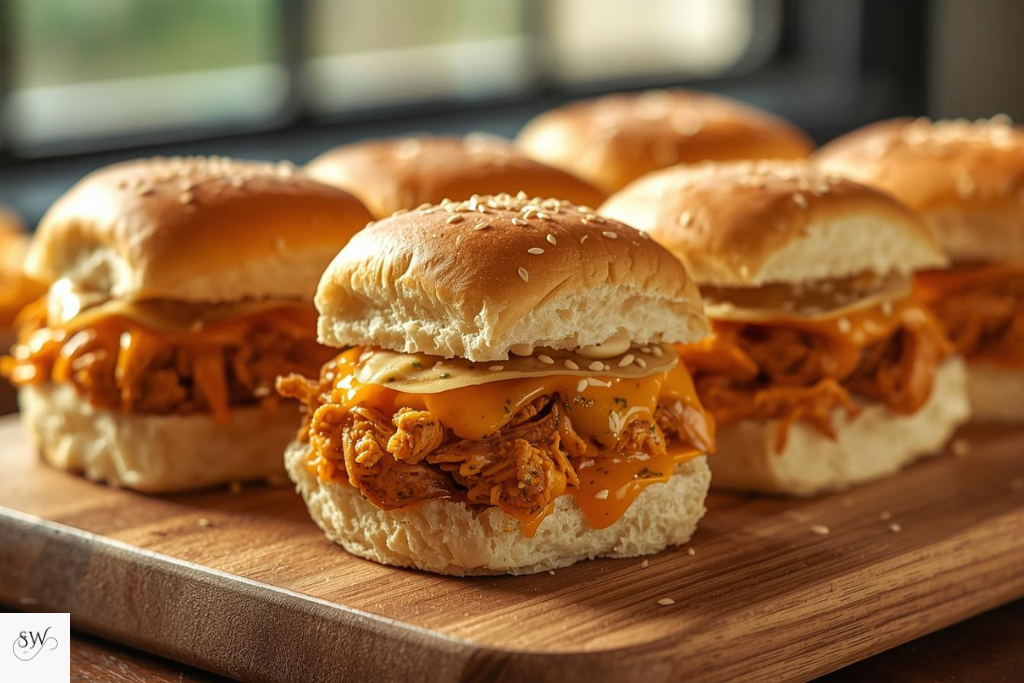
Hosting a party with make ahead chicken sliders should feel exciting, not overwhelming. Over the years, I’ve learned that the secret to stress-free entertaining isn’t fancy food it’s smart prep. And nothing proves that better than these make ahead chicken sliders for parties. They’re juicy, flavorful, and incredibly easy to assemble in advance. Whether you’re … Read more